Address Printer Tool
Step 1: Access the Tool
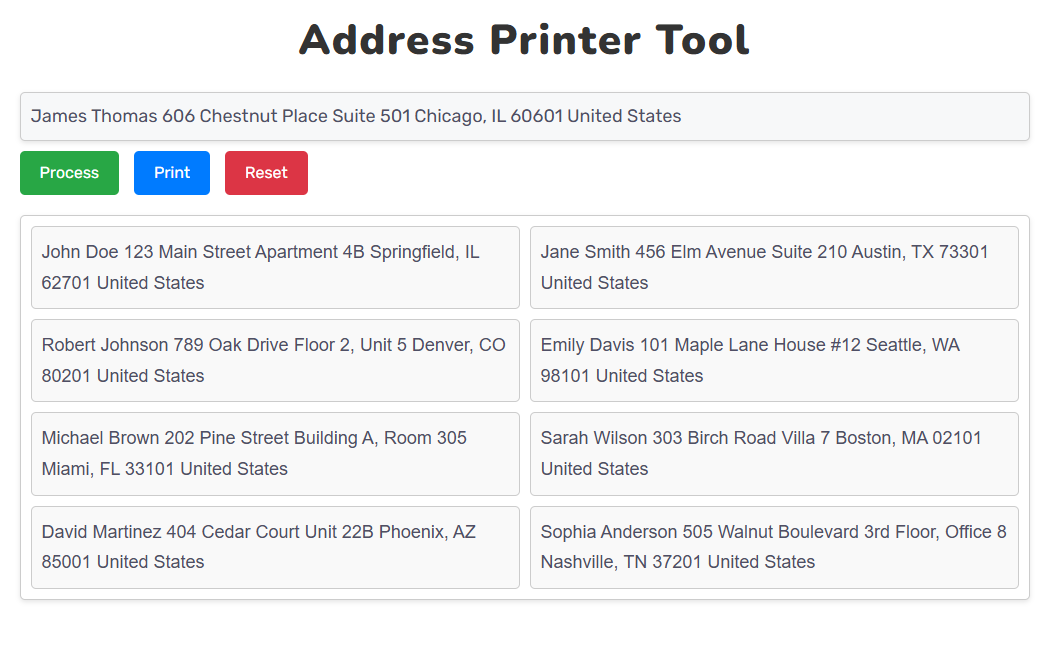
Access our Webpage – Open a browser and go to the URL you have your Address Printer Tool deployed on.
Step 2: Enter an Address
Seek the Input Field: Scroll down the page to find the text input field that has the placeholder text that reads “Paste address here…”.
Enter an Address, Or Paste One: Click in the input field and type the address.
Step 3: Process the Address
Add the Address: Click on the green ”Process” button to add this address to the list
Step 4: Edit the Address (If Desired)
Edit Address: If the address is incorrect, click on the address box and enter the correct one.
Locate Step 5: Add More Addresses (Optional)
Repeat for Other Addresses: Continue to add addresses by repeating Steps 2 and 3.
Step 6 (optional): reset the tool
Clear All Addresses: The red “Reset” button will remove all entries.
Step 7: Print the Addresses
Click “Print”: After all addresses have been entered, click the blue “Print” button which opens the print dialog.
Step 8: Print Preview
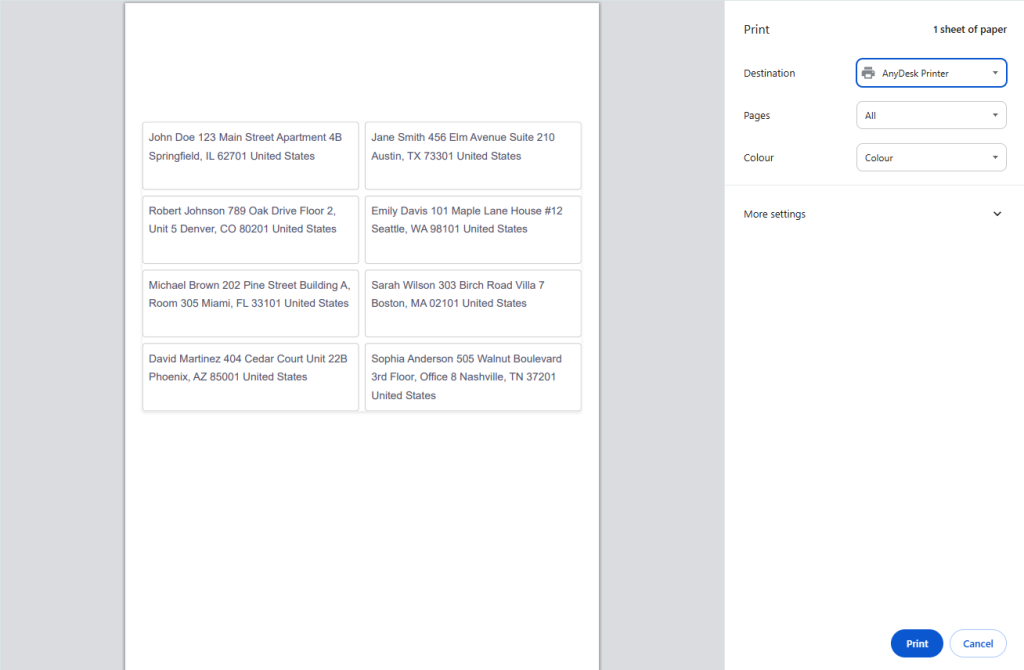
Check the Print Preview– The print preview should show only the address boxes.
Step 9: Print the Document
Last Step Print: Change settings if needed and tap “Print” in the dialog to print the addresses
Conclusion
The page thus annotated can now be annotated further or printed using the Address Printer Tool.
Read more >>>>>>>>>>> Image compressor tool